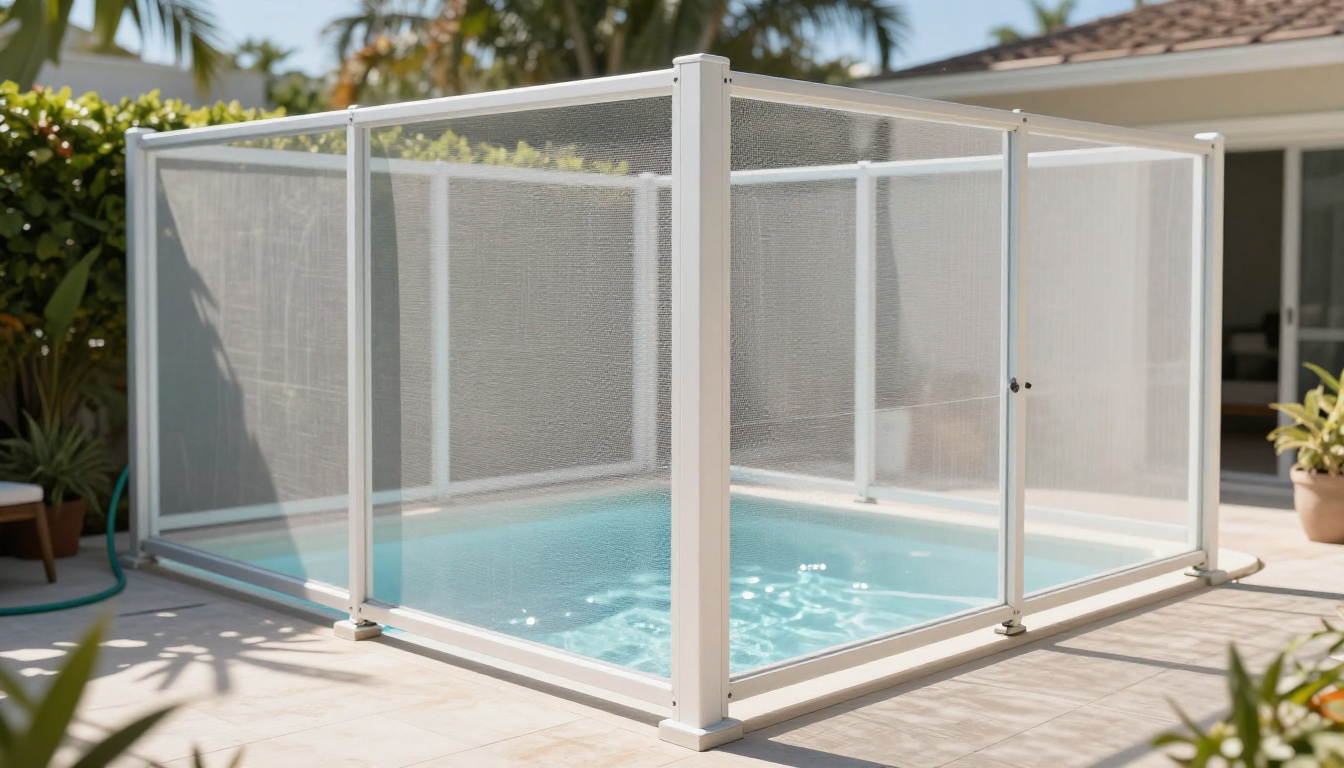
Cape Coral Screen Enclosures: Design and Installation
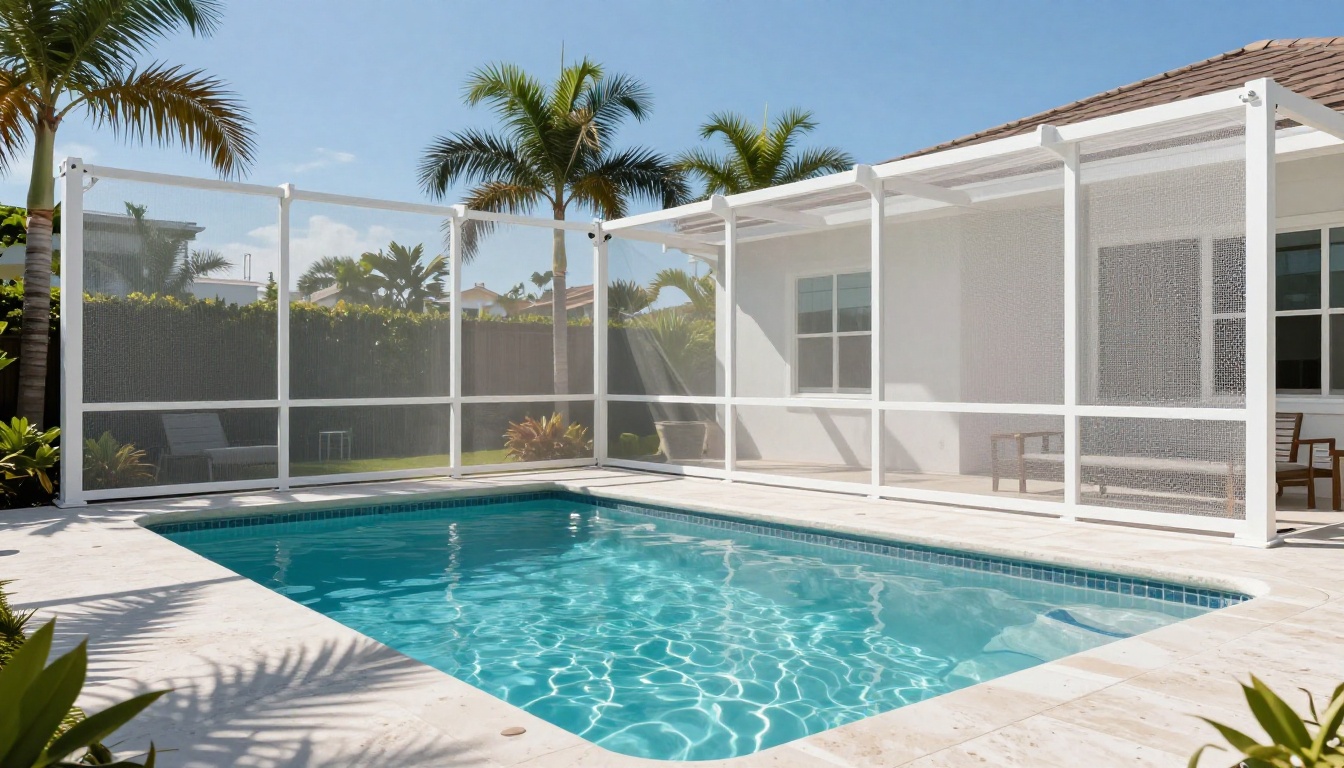
Your pool deck should be a place to relax, without swatting mosquitoes through dinner. A well-planned enclosure helps keep insects out and makes your outdoor space more comfortable for everyday use.
Successful screen enclosure design and installation in Cape Coral starts with property-specific planning , suitable materials, and skilled construction. Engineering and permits matter because the enclosure must suit your home's structure and local weather conditions.
Start with how you want to use the space, then build the design around those needs.
What to expect from screen enclosure design and installation in Cape Coral
A good enclosure balances your home's layout, outdoor views, and daily routines. Its dimensions also need to work with the pool, patio, existing roofline, and structural requirements.
Location affects the permitting route. Properties within Cape Coral city limits go through the City's permitting process. Outside those limits, another jurisdiction may apply, including Lee County for unincorporated properties.
Choose a layout that fits your pool, lanai, or patio
Start with the space you already have and the activities you want it to support. A pool enclosure needs room for circulation around the water. Meanwhile, a screened patio should accommodate furniture without crowding doors or walkways.
Mansard roofs have a broad upper section with sloping sides. Gable roofs have two sloping sides that meet at a ridge. The appropriate shape depends on the house, desired height, and engineered design.
For waterfront properties, a taller, more open view panel can preserve sightlines by reducing framing across the view. However, larger openings must work within the structural plan. A clear view doesn't remove the need for properly sized members and connections.
Door placement deserves equal attention. Access to pool equipment, lawn areas, and the house should remain convenient. Existing columns, gutters, roof overhangs, and outdoor fixtures also influence where the enclosure can connect.
Match the screen material to comfort and daily use
Standard insect mesh suits everyday protection when visibility and ventilation are priorities. Finer mesh targets smaller insects, while heavier pet-resistant materials address scratching and other household wear. Solar-screen options offer shade but can change the brightness and outward view.
Phifer's No-See-Um Screening uses a 20-by-20 mesh designed to keep out most smaller flying insects. Its PetScreen is designed to resist damage from most dogs and cats. Neither description means every insect or pet-related problem disappears.
Denser materials can reduce airflow or make the view less open compared with a more open weave. The tradeoff depends on the actual product, so material selection belongs in the design conversation.
Solar screening also deserves careful placement. Phifer describes SunScreen as blocking up to 70% of solar rays, but that figure isn't a promised temperature reduction. Choose screening around your household's needs rather than assuming one material is best everywhere.
How permits, engineering, and installation work
The project begins with a site review and measurements. Next come the layout, engineering where required, permit submission, and plan-review responses. Construction follows the approved documents, with required inspections and a final walkthrough completing the process.
For work within city limits, the City of Cape Coral's Development Services Department, Permitting Services Division, is the permitting authority. Its Permit Document Center separates guidance for new screen enclosures and enclosure additions.
Rescreening and repairs have different scopes than new construction. However, that distinction alone doesn't establish a permit exemption. Replacing mesh, replacing structural members, and changing an enclosure's footprint require different project planning.
Plan for wind loads and site-specific structural needs
Structural design depends on more than the enclosure's square footage. Height, roof shape, panel openings, attachment conditions, and the supporting foundation all affect the plans.
Frame sizes, anchors, bracing, and connections should follow the approved design. Existing concrete also needs assessment because a finished pool deck doesn't automatically establish that every proposed connection is suitable.
Likewise, attachment to the house requires attention to the actual supporting structure. The design must address how loads pass through the enclosure's connections and supporting elements.
Some engineered designs include designated removable screen panels. This approach applies only when the design calls for it, with the required instructions and supporting engineering. It isn't a standard feature or requirement for every enclosure.
A removable-panel provision belongs to a specific engineered design. It shouldn't be assumed from the enclosure's appearance or screen type.
Keep any design-specific operating instructions with the completed project documents.
Know what happens during construction and final inspection
Preparation may include removing an old enclosure, clearing the work area, and completing specified foundation or attachment work. The exact order depends on the approved plans and site conditions.
Installers then assemble the aluminum frame and complete the required connections. Screen installation follows, along with the specified doors, latches, and other hardware. Door alignment and operation matter because poor fit can create insect gaps or make access frustrating.
Required inspections evaluate the work against the permitted scope and approved documents. A final walkthrough provides a separate opportunity to review the finished enclosure's condition and everyday operation.
Before completion, doors should open and latch properly, screening should be secure, and the work area should be cleaned. Any remaining items should have a clear resolution. Permit approval and a homeowner walkthrough address different responsibilities, so both belong in project planning.
What affects the cost of a Cape Coral screen enclosure?
Enclosure pricing depends on the actual design and construction scope. Two projects with similar floor areas can require different framing, roof work, or foundations.
Size and height affect material quantities and installation effort. Roof style and larger view openings can also change structural requirements. Screen selection, doors, hardware, engineering, and permit scope add further differences.
Site access matters as well. Limited working room, removal of an existing structure, and additional concrete or attachment work can change the estimate. That's why a single broad price range offers little help when comparing a straightforward rescreen with a new enclosure.
Compare estimates by materials, scope, and project support
A useful estimate identifies what the quoted amount includes. Material descriptions should go beyond "screen enclosure" so you can distinguish the proposed mesh, frame components, and door package.
Compare proposals using the same scope:
- Look for design, engineering, and permit coordination where the project requires them.
- Make sure the frame, screen material, doors, and hardware are identified.
- Separate foundation work, house attachments, and old-enclosure removal from unspecified allowances.
- Include required inspections, cleanup, and completion responsibilities in the comparison.
- Read warranty terms for covered work, materials, exclusions, and claim procedures.
The lowest total may reflect a smaller scope rather than a better value. For example, an estimate that excludes old-frame removal isn't directly comparable with one that includes it.
Separate essential work from optional upgrades
Structural requirements and required permit work belong in the core project scope. View-panel changes, different screen materials, and additional doors can then be evaluated as design choices.
Separating those choices makes budget decisions clearer. You can see the cost effect of a screen upgrade without confusing it with necessary foundation work.
Existing conditions also deserve clear treatment. If the supporting structure needs additional work, the estimate should explain how that work affects the project. Undefined phrases such as "repairs as needed" leave too much uncertainty.
For screen enclosure design and installation in Cape Coral, a clear estimate should connect the price to a defined build. A lower number is useful only when you understand what's included.
How to choose a screen enclosure company in Cape Coral
Choose a contractor whose experience matches the work you need. New pool-enclosure construction, an enclosure addition, and complete rescreening involve different responsibilities.
Local project experience matters because the contractor needs to understand site review, permitting, structural coordination, and construction sequencing. Clear communication matters just as much when design choices or existing conditions affect the scope.
A useful first conversation should connect your priorities with practical design decisions. The contractor should be able to explain how views, insect protection, access, and attachment conditions influence the proposal.
Look for relevant experience and a clear written scope
Completed enclosure projects help demonstrate experience with comparable roof shapes, heights, and layouts. However, appearance alone doesn't show how a project was engineered or permitted. Project discussions should address those responsibilities alongside the finished design.
A written scope should identify the enclosure dimensions, roof style, screen selection, and included doors. It should also explain demolition, foundation work, house attachments, and any excluded items.
Design and permitting support should have a defined place in the agreement. The same applies to installation responsibilities and the process for handling changes. When each task has an owner, you're less likely to face confusion between approval and construction.
Warranty information should also be written clearly. Coverage for screen materials may differ from coverage for installation work. Understanding those distinctions helps you compare proposals without treating every warranty as equivalent.
Expect communication through project completion
A dependable project plan separates design decisions, permit review, construction, and closeout. It should explain which steps must finish before the next stage begins.
Scheduling also needs to account for dependencies. Material availability, plan-review responses, and required site work can affect construction timing. A clear sequence is more useful than a start date that overlooks unfinished approvals.
During installation, changes should have a written description and price before they become part of the work. That keeps the finished project aligned with your decisions and budget.
Finally, the contractor should explain how required inspections and remaining walkthrough items will be completed. Closeout includes the finished enclosure, relevant project documents, and clear instructions for any design-specific features. Good communication continues until those responsibilities are resolved.
Start with a Design That Fits Your Property
A comfortable enclosure begins with a layout suited to your home and screening suited to your household. Site-specific plans connect those choices to the structural and permitting requirements.
Clear estimates and skilled installation help turn that design into an outdoor space you can use comfortably. The same care should carry through required inspections and the final walkthrough.
Request a free, no-obligation estimate from our team to discuss your pool, lanai, or patio enclosure. We'll start with the space you have and how you want to use it.