Screen Enclosure Measurements to Take Before Design
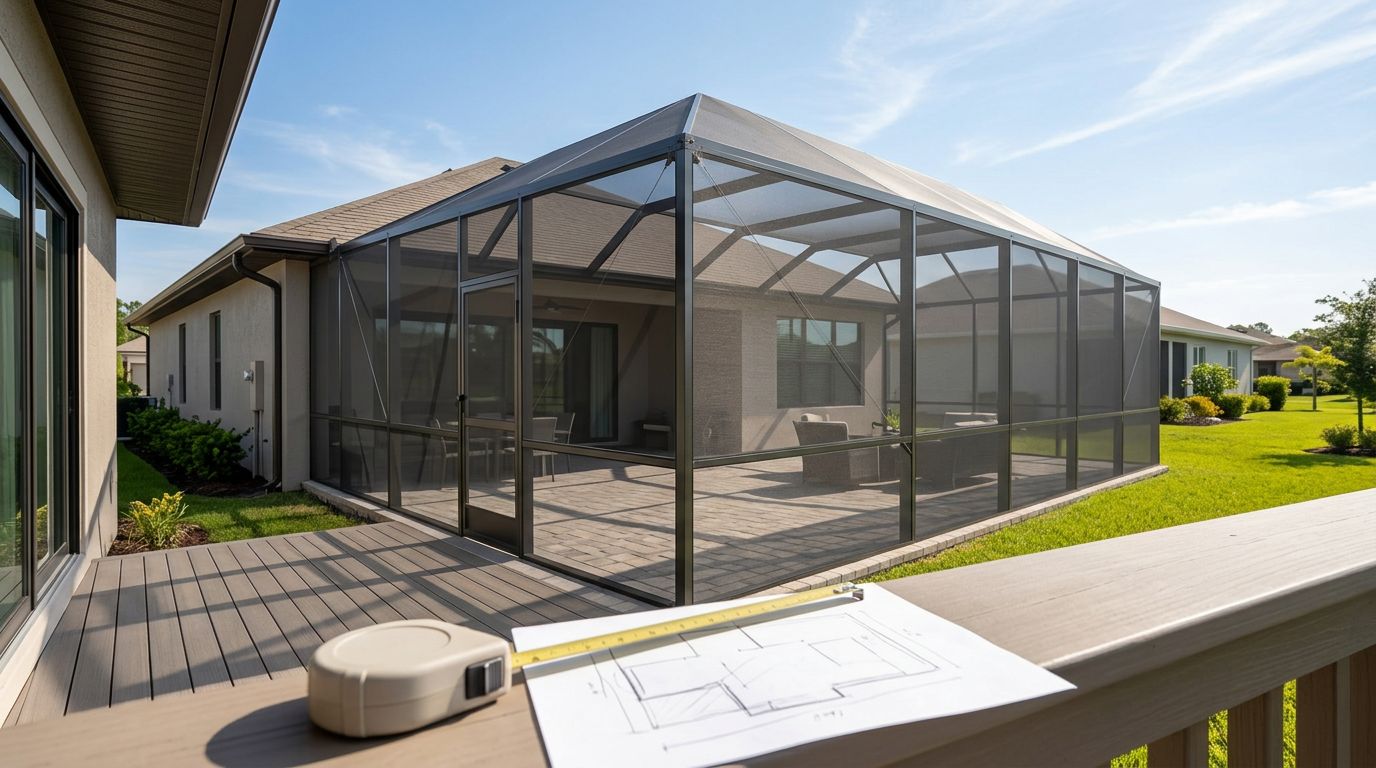
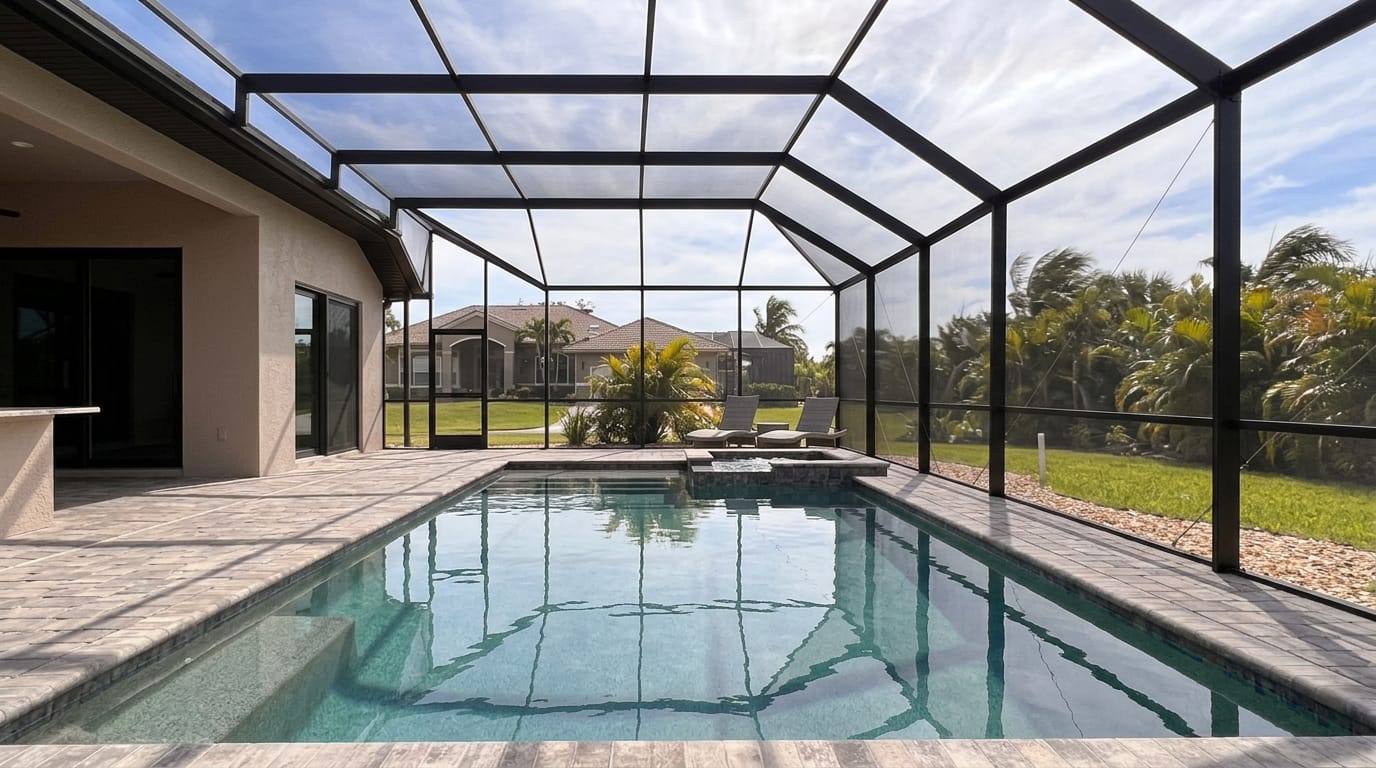
The most useful screen enclosure measurements cover the footprint, height, roof, openings, attachment areas, and surrounding ground. Together, they give an enclosure company a clearer picture of what can fit and how you'll use the space.
You don't need a finished construction plan to start. A labeled sketch and a consistent set of measurements can help you discuss your priorities before the design takes shape.
Key Takeaways
- Measure the proposed footprint as well as the existing deck or slab.
- Record wall heights, roof dimensions, door locations, and attachment areas.
- Note slopes, drainage features, obstacles, and changes in ground level.
- Allow space for doors, furniture, walking routes, and exterior access.
- Give your sketch and photos to your enclosure company as planning information, not final construction specifications.
Start With a Consistent Measuring Method
A tape measure, paper, pencil, and phone camera are enough to document most accessible areas. Choose one unit system and use it throughout your notes. For example, record every dimension in feet and inches rather than switching between inches and decimal feet.
Use the same reference points
Pick a fixed starting point, such as the outside corner of the house or a slab corner. Label it on your sketch and measure other features from that point along the relevant edge.
Record both ends of each measurement. "House wall to outer slab edge" is more useful than an unlabeled number because it tells your enclosure company what the dimension covers.
Draw and label a simple sketch
Start with a top-down outline of the house, deck, pool, and proposed enclosure. Mark doors, columns, and other features, then write each dimension beside the line it describes. The drawing doesn't need to be to scale.
Add a few photos taken from different angles and label them to match your sketch. Together, the drawing and photos show how each measurement relates to the space.
Measure the Enclosure Footprint First
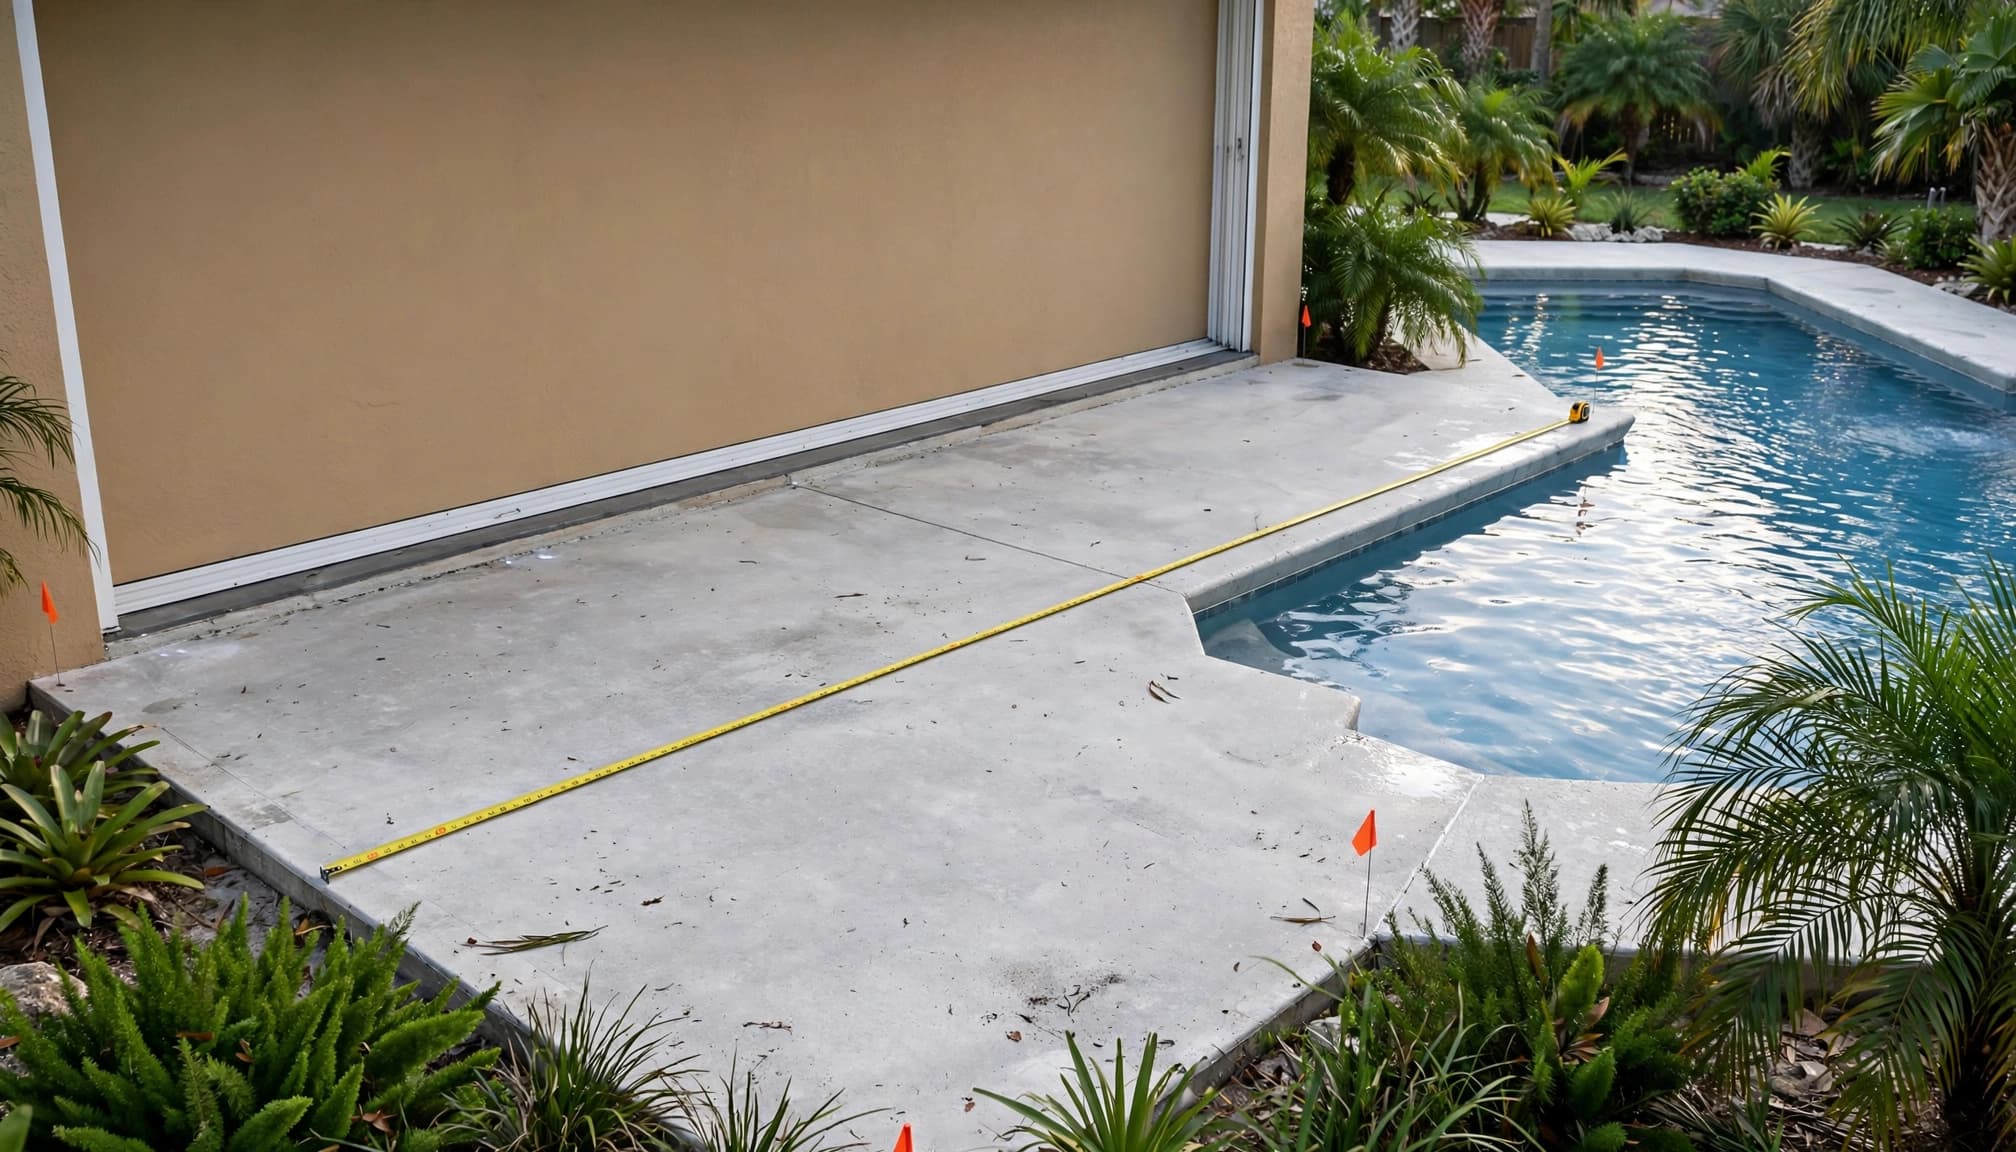
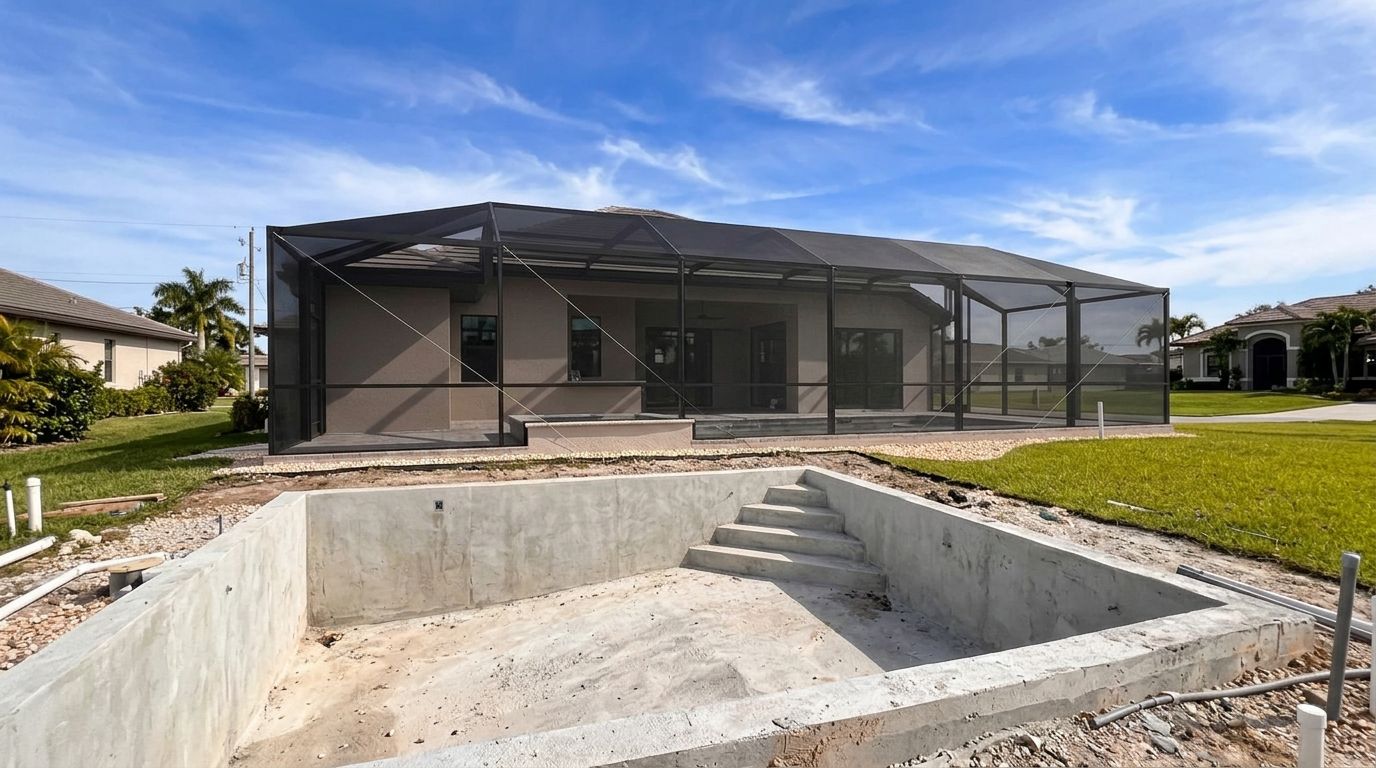
The footprint is the area the enclosure would cover on the ground. Begin by measuring the existing deck or patio, then mark where you'd like the enclosure walls to sit. Those boundaries may differ if you want to enclose only part of the deck or include an area beyond it.
Record overall width and length
For an enclosure attached to a house, it's useful to label the dimension along the house as the width and the distance extending outward as the length . Measure at both ends rather than assuming opposite sides match.
For an L-shaped deck or another irregular layout, divide the outline into recognizable sections. Record the length of each straight edge and show where the direction changes.
Include corners and extensions
Measure recesses, projecting corners, and narrow sections separately. On a rectangular area, record both diagonal distances between opposite corners as an additional reference. If they differ, note that on your drawing rather than assuming the corners form a perfect rectangle.
Also label the pool edge, steps, and any raised deck section. These features help place the proposed perimeter in context, even when they won't touch the enclosure.
Record Individual Wall Dimensions and Height
Overall width and length establish the footprint, but each wall needs its own dimensions. A pool enclosure may follow several deck edges, while a lanai enclosure may fill openings between existing walls or columns.
Measure each proposed wall
Label each wall on your sketch and record its length from corner to corner. Include short return walls and sections interrupted by columns or door openings.
If a wall would meet an existing structure, mark where the proposed frame line begins and ends. These details help your enclosure company discuss panel layout and sightlines, including where framing may cross a view from the house.
Measure available height in more than one place
For an existing covered lanai, measure from the finished walking surface to the underside of the overhead structure at accessible points. Take readings near both ends of each opening and wherever the ceiling height changes.
For a new enclosure roof, record the desired height as a planning preference. Measure the accessible height of the nearby house features as well. The final roof height and framing depend on the design and supporting structure.
Document Roof Dimensions and Shape
Roof measurements tell a different story than the floor plan alone. A roof may slope, rise to a peak, or fit beneath an existing overhang, so its shape affects both the appearance and the connections.
On your sketch, show the direction you expect the roof to run. Record the horizontal distance it would cover and the accessible height at the house and outer wall. If you have an existing covered lanai, note the dimensions of the covered area separately from any proposed extension.
Measure roof overhangs from the wall to their outer edge where you can reach them safely. Mark gutters, downspouts, and places where one roofline meets another. A photo taken from the yard can show the relationship between these features and the proposed enclosure.
Avoid climbing onto a roof or using a ladder to reach unsafe areas. An enclosure professional can take the elevated measurements needed for the final design.
Map Doors and Other Openings
A convenient entry needs more than a mark on the plan. Its location affects furniture placement, walking routes, framing, and access to the yard.
Locate existing and proposed doors
Measure the width and height of existing house doors that open into the space. Then record the distance from each door to a nearby fixed corner or column. Show whether each door swings inward or outward, or slides along the wall.
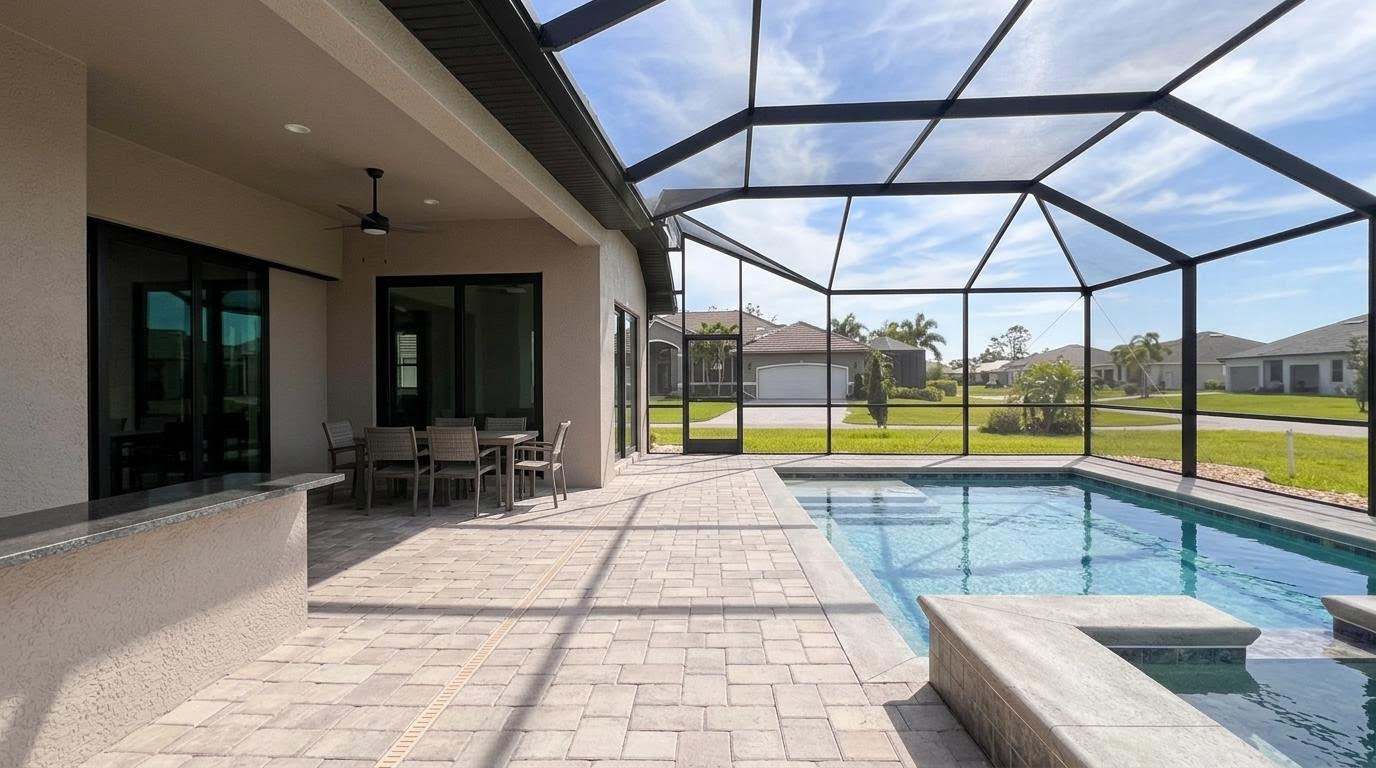
Mark where you'd like the enclosure door and the direction you want it to swing. Include the path you'll take between the house, pool, and yard. A door that opens against a chair or blocks a frequently used route can make the space less comfortable.
Note windows, gates, and access points
Add nearby windows, outdoor kitchen openings, and gates to the sketch. Measure their positions from fixed reference points so their relationship to the proposed walls is clear.
For a pool area, identify how people enter and leave the space. Pool barrier and gate requirements can affect the design, so include those features in the discussion before door locations are finalized.
Identify Attachment Points and Existing Structures
If the enclosure will connect to the house or an existing covered area, document what is already there. Measure the length and accessible height of the wall, beam, or column where a connection is proposed.
Note the width and position of columns, the underside of roof overhangs, and any changes in wall surface. Include gutters, exterior lights, outlets, vents, and downspouts near the proposed frame line. These features can affect where a connection fits.
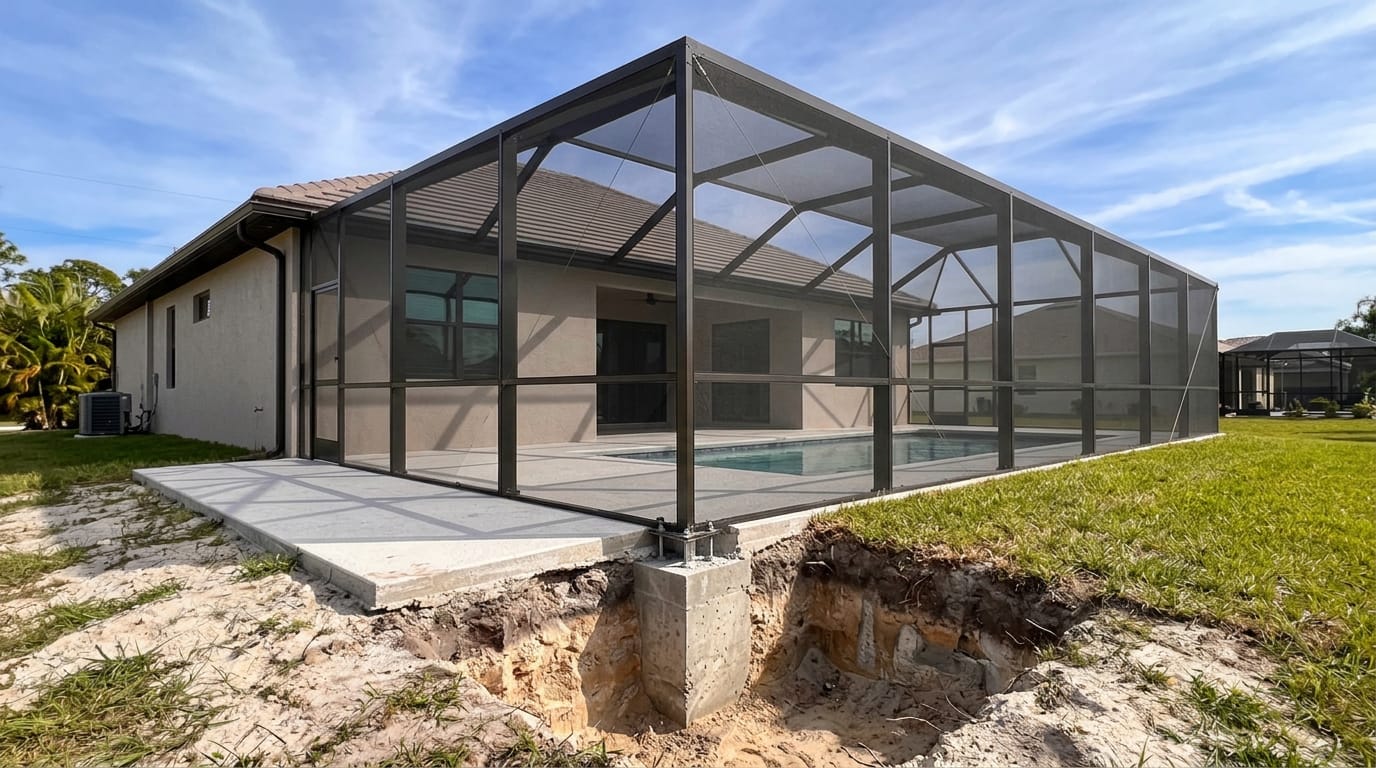
Photograph the existing deck or slab at the proposed perimeter, especially where its edge changes or a step interrupts it. A structural review considers the actual supporting structure and foundation alongside the enclosure design.
The structural planning for an enclosure also accounts for roof shape, openings, and attachment conditions. Your measurements give that discussion a useful starting point; frame sizes and connections belong in the approved design.
Record Slope, Grade Changes, and Obstacles
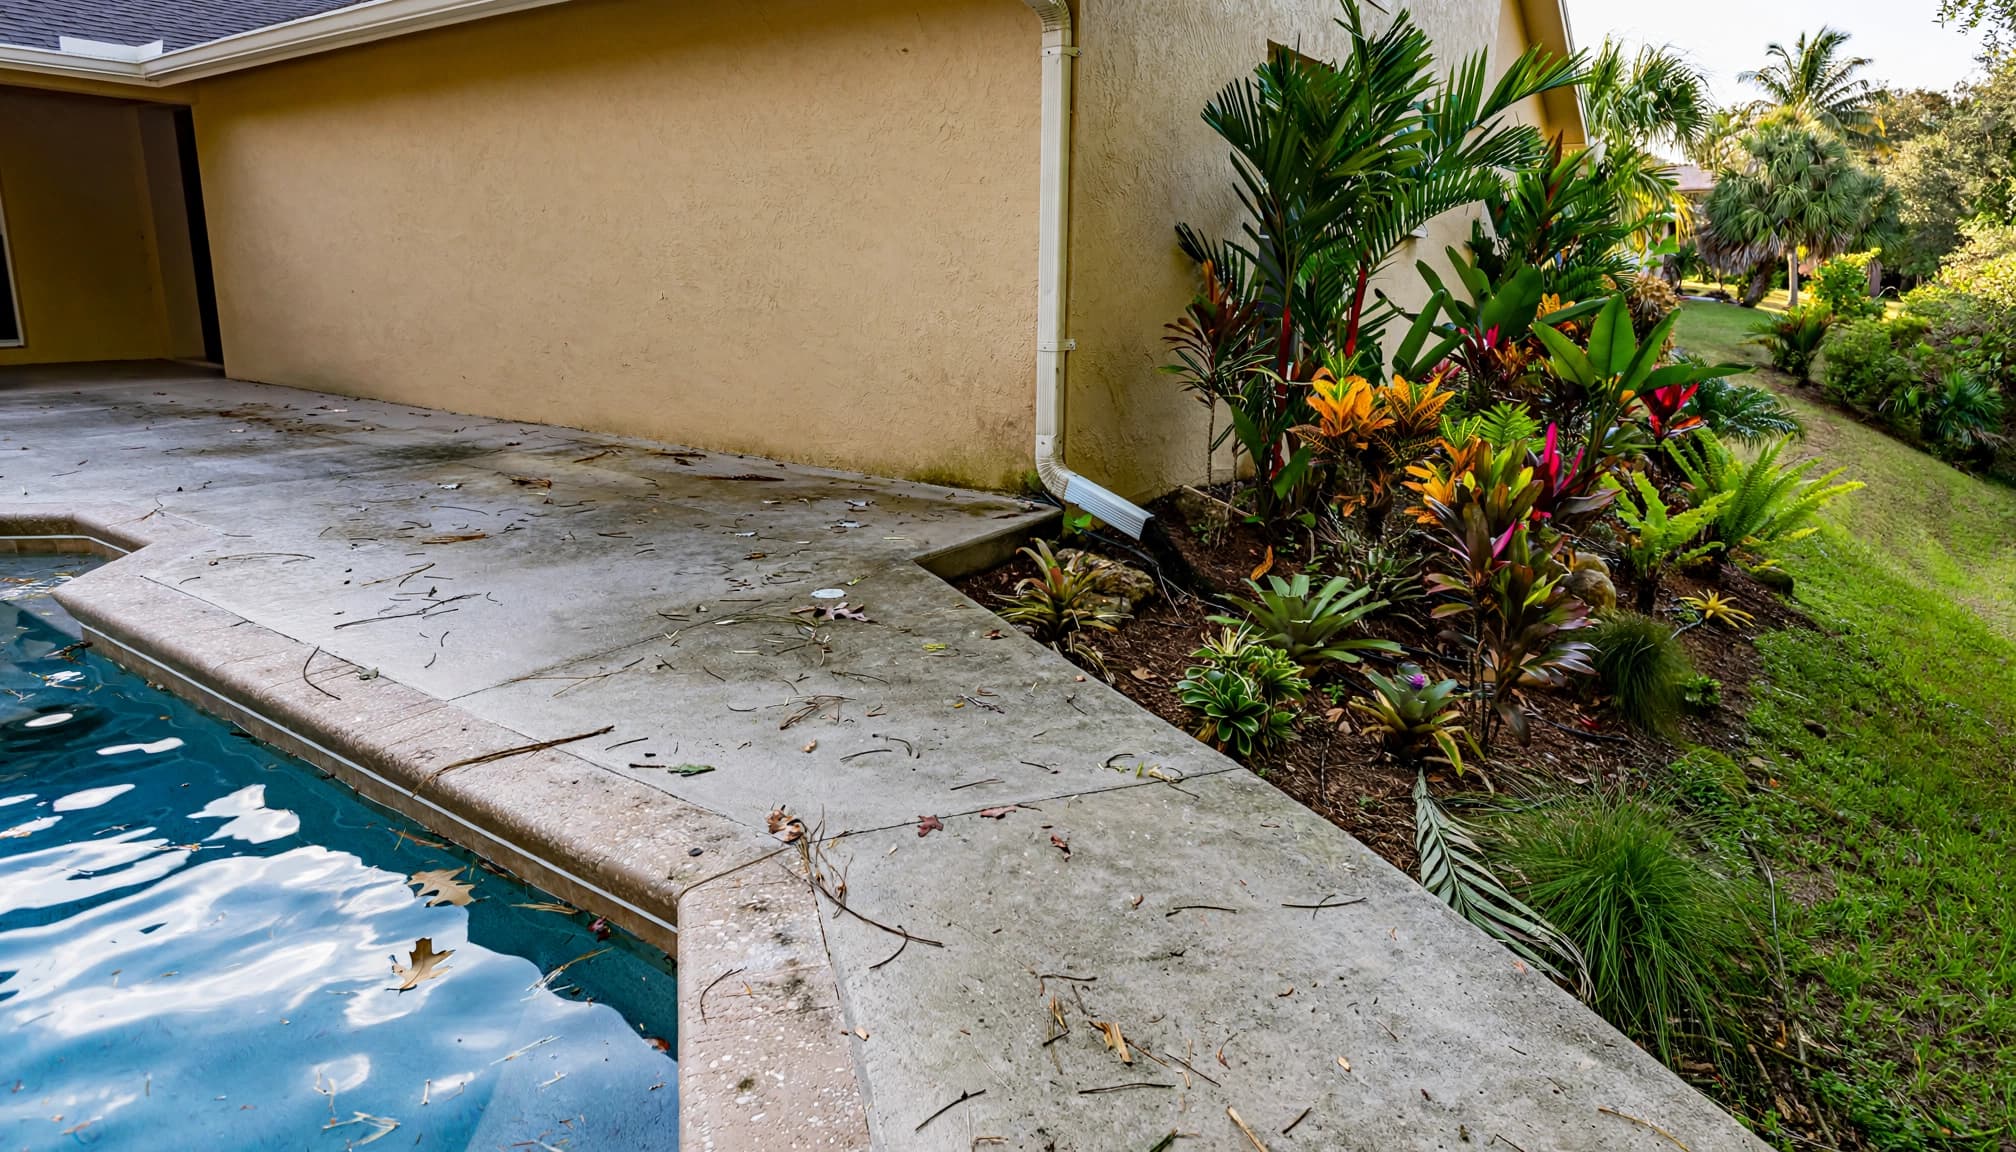
Walk the proposed perimeter and note where the surface rises, falls, or changes material. A deck can look level while still directing water toward a drain or away from the house.
Measure visible changes in height at steps, raised planters, and other accessible edges. For a gradual slope, mark the high and low areas on the sketch and describe where water drains. Photos taken along the edge can help show the change.
Locate fixed obstacles such as pool equipment, irrigation controls, drains, and utility features. Record their approximate dimensions and distance from the proposed enclosure line. Include trees and large planting beds if they limit access or extend over the planned roof area.
These observations help your enclosure company discuss the layout and access around the structure. They also provide useful context for any foundation or attachment work included in the project.
Plan Clearance for Everyday Use
An enclosure should fit the way you use the space, not only the dimensions of an empty deck. Place existing furniture where you normally use it and mark its position on your plan.
Measure furniture in use
Record the footprint of your table, chairs, loungers, and other pieces you intend to keep. Measure again with chairs pulled out or a lounger extended. If you use an umbrella, include the space it occupies when open.
Our guide to planning around pool deck furniture covers how those everyday positions affect the layout. You don't need to buy new furniture before planning, but its intended size should be part of the conversation.
Leave room for movement and access
Walk the routes between house doors, seating, pool steps, and the proposed enclosure entry. Mark areas where furniture or a door swing narrows the path.
Outside the enclosure, identify the space needed to reach equipment, maintain landscaping, and move around the structure. Note nearby fences or property features that limit access. These details can influence where walls and doors are placed.
Bring Your Measurements to the Design Conversation
Your sketch doesn't need to answer every structural question. Its purpose is to show the space you have, the features you want to keep, and the way you'd like the finished enclosure to work.
Bring your measurements and photos together with notes about roof preferences, door locations, and the views that matter most. If you're comparing proposals, look for a description of the enclosure dimensions, roof style, screen selection, and included doors. Foundation work, house attachments, and removal of an existing enclosure should also have a clear place in the scope.
At Back Bay Screens, we provide enclosure planning and installation services in Southwest Florida. We can use your notes to start the discussion and develop the project through design, permitting coordination, and installation.
Frequently Asked Questions
Can I measure an enclosure myself?
Yes. Homeowner measurements are useful for an initial layout and estimate discussion. A qualified professional can assess the site and take the measurements needed for the final design.
Should I include the whole pool deck in my sketch?
Include the full deck outline even if you plan to screen only part of it. Showing the proposed enclosure line separately helps explain how the new structure relates to the pool, house, and remaining outdoor space.
Do I need measurements for an existing lanai roof?
Yes. Record the accessible width, depth, and height of the covered area, along with columns and changes in the ceiling. These dimensions help describe the openings and the surrounding structure.
A Better Starting Point for Your Enclosure
A useful measurement plan shows more than how much floor space you have. It connects the footprint to doors, rooflines, obstacles, and the room you need to move comfortably.
Start with a clear sketch and label what you can safely measure. Those details give your enclosure company a practical foundation for the design conversation.